Purpose: The purpose of assigning a visit to a TPM is to permit TPM team members access to eTools to report on their visit
Who: PME
When: Once the TPM Profile is set up, the PME is able to assign a visit to the relevant TPM
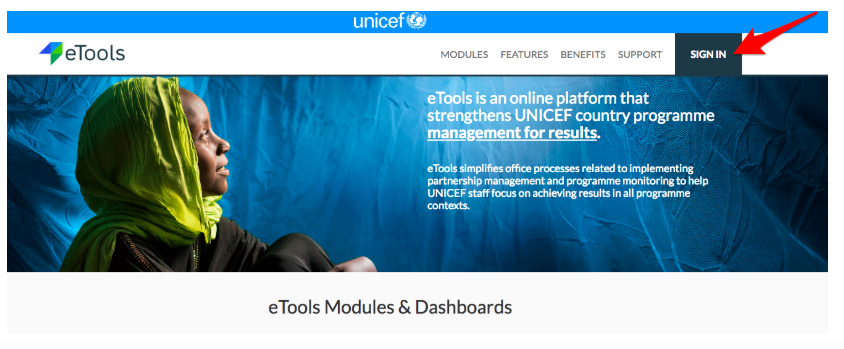
1. Go to etools.unicef.org and log into eTools using your UNICEF email and password
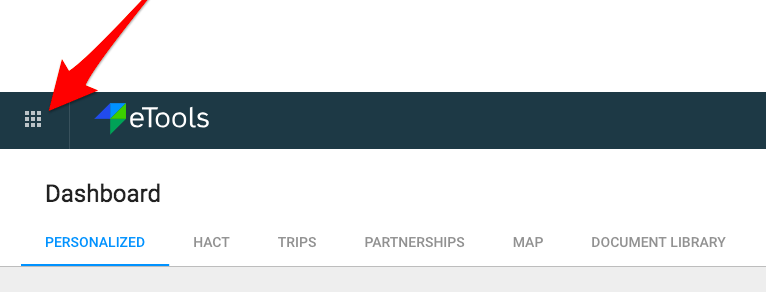
2. Click on the Menu icon in the top left corner of the screen to open menu

3. Select Third Party Monitoring

4. Third Party Monitoring Module page opens


5. Click on List of Visits on the left navigation bar
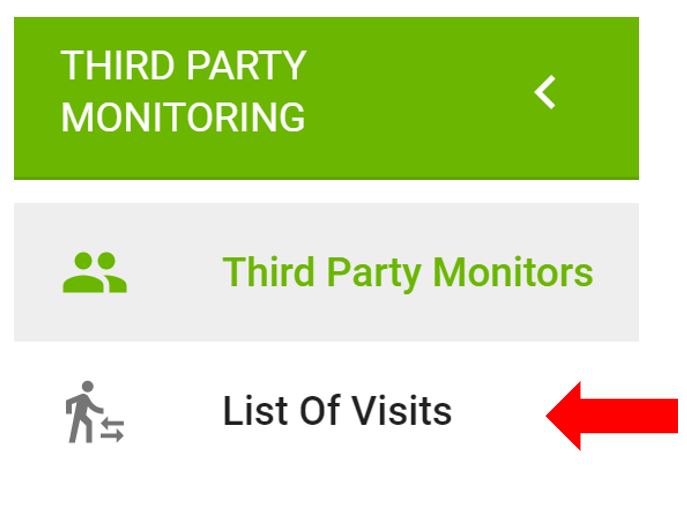
6. A list of visits will open
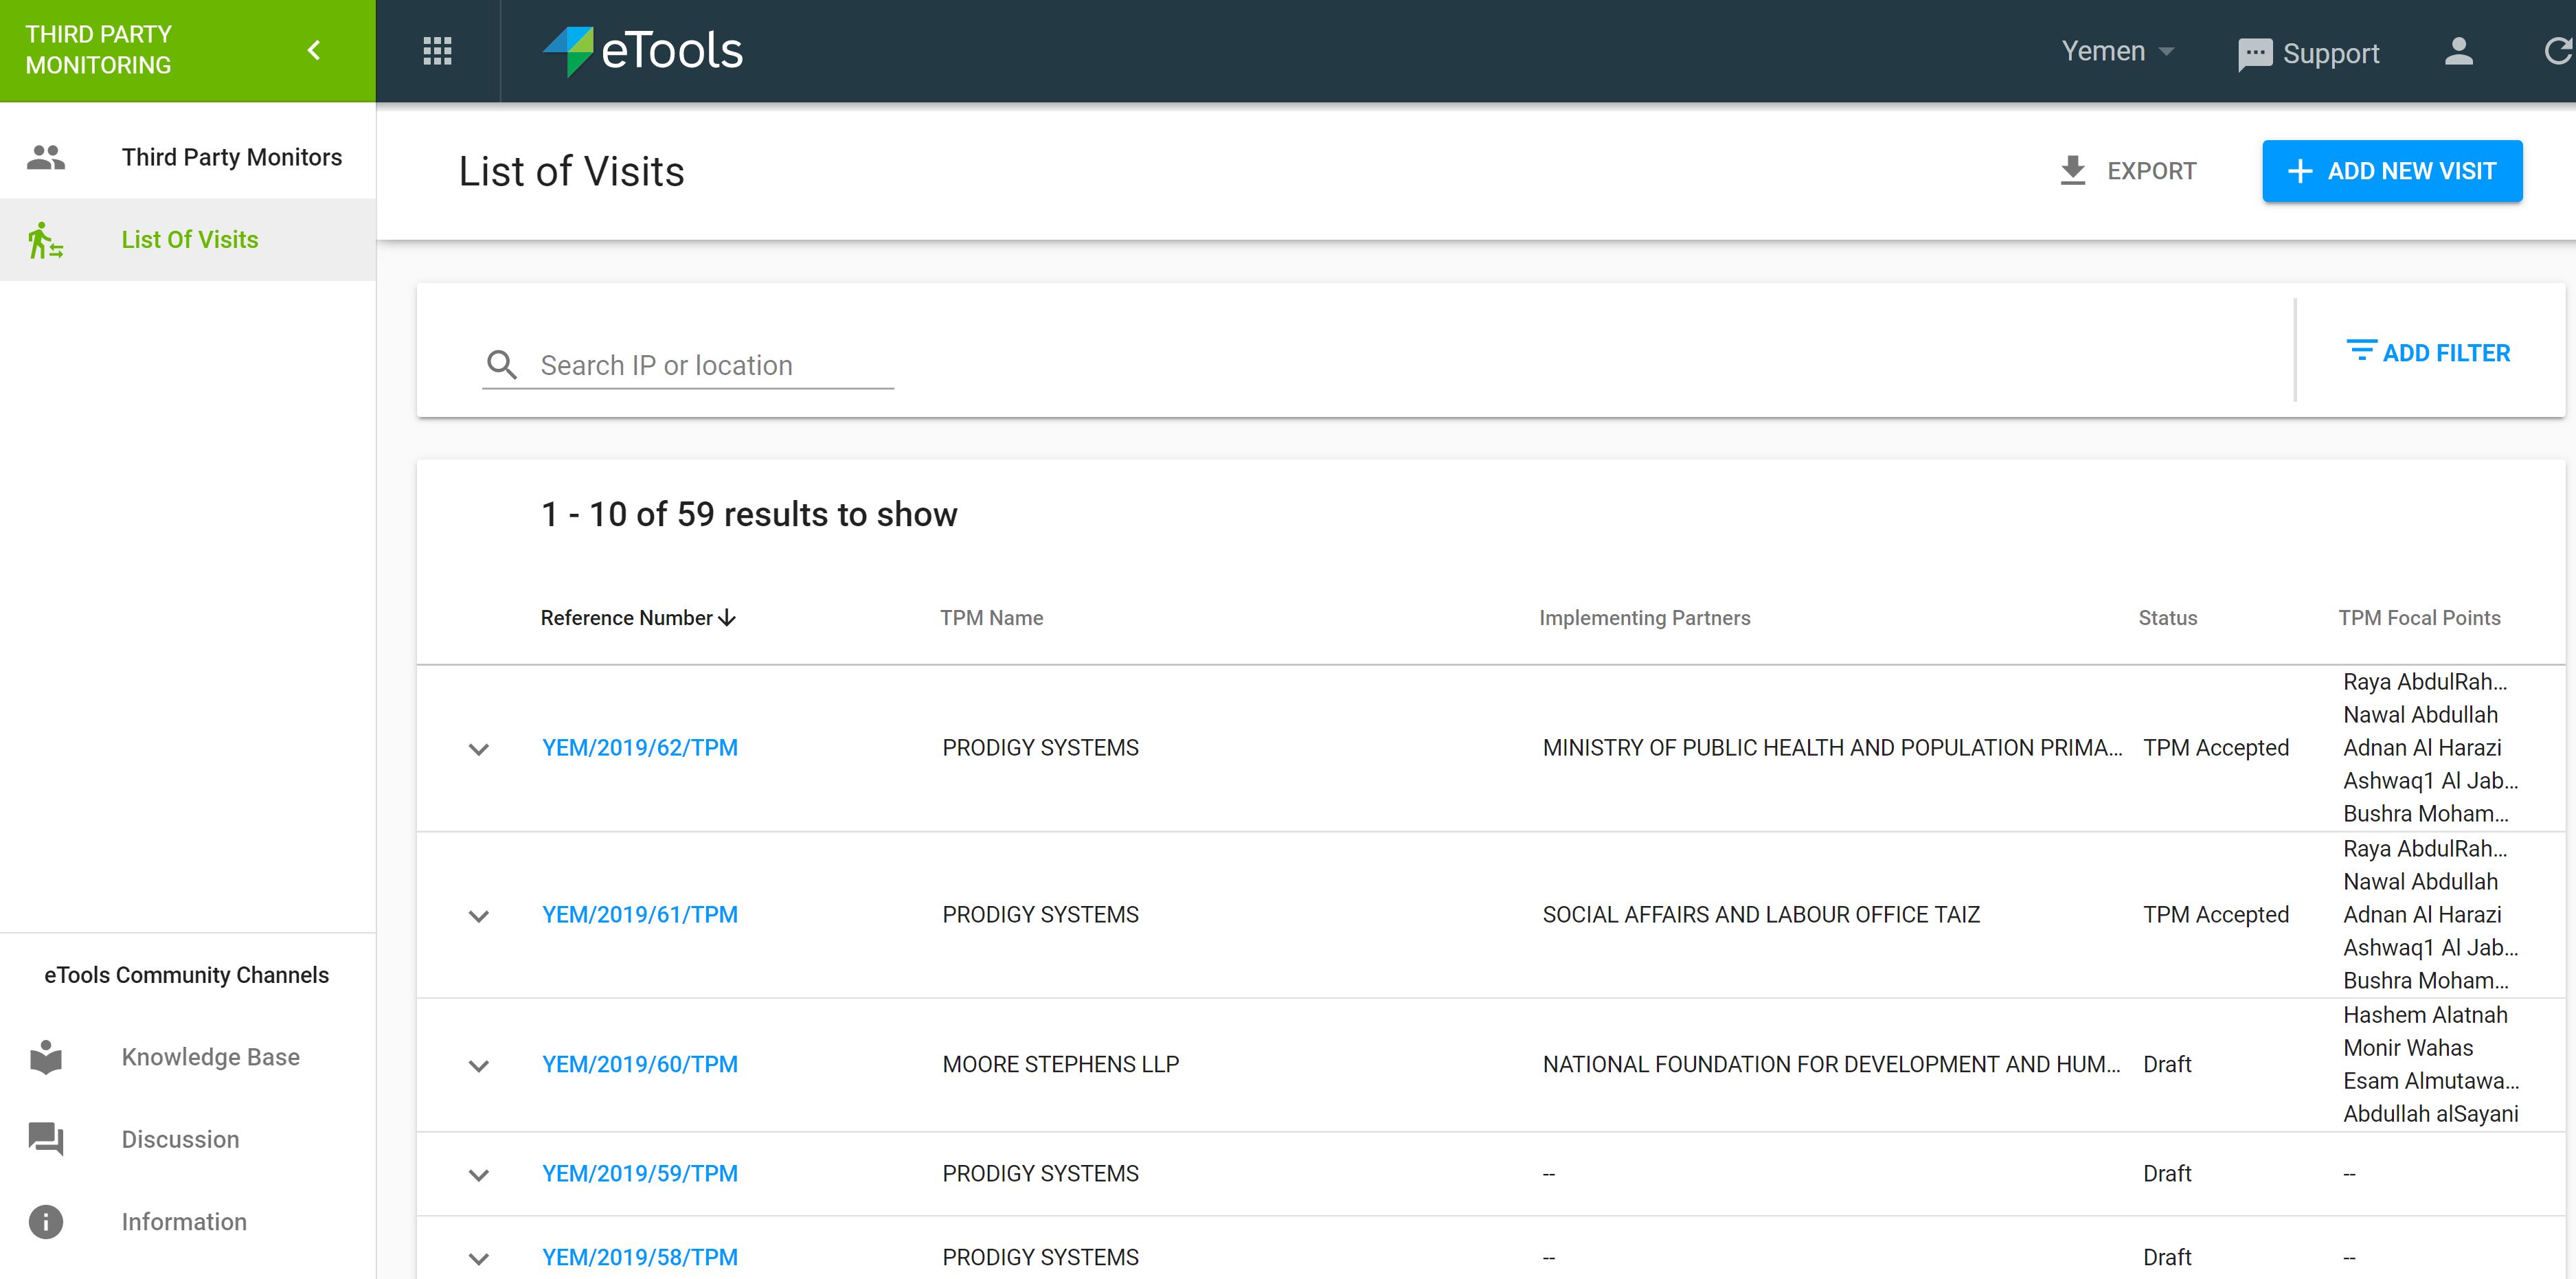
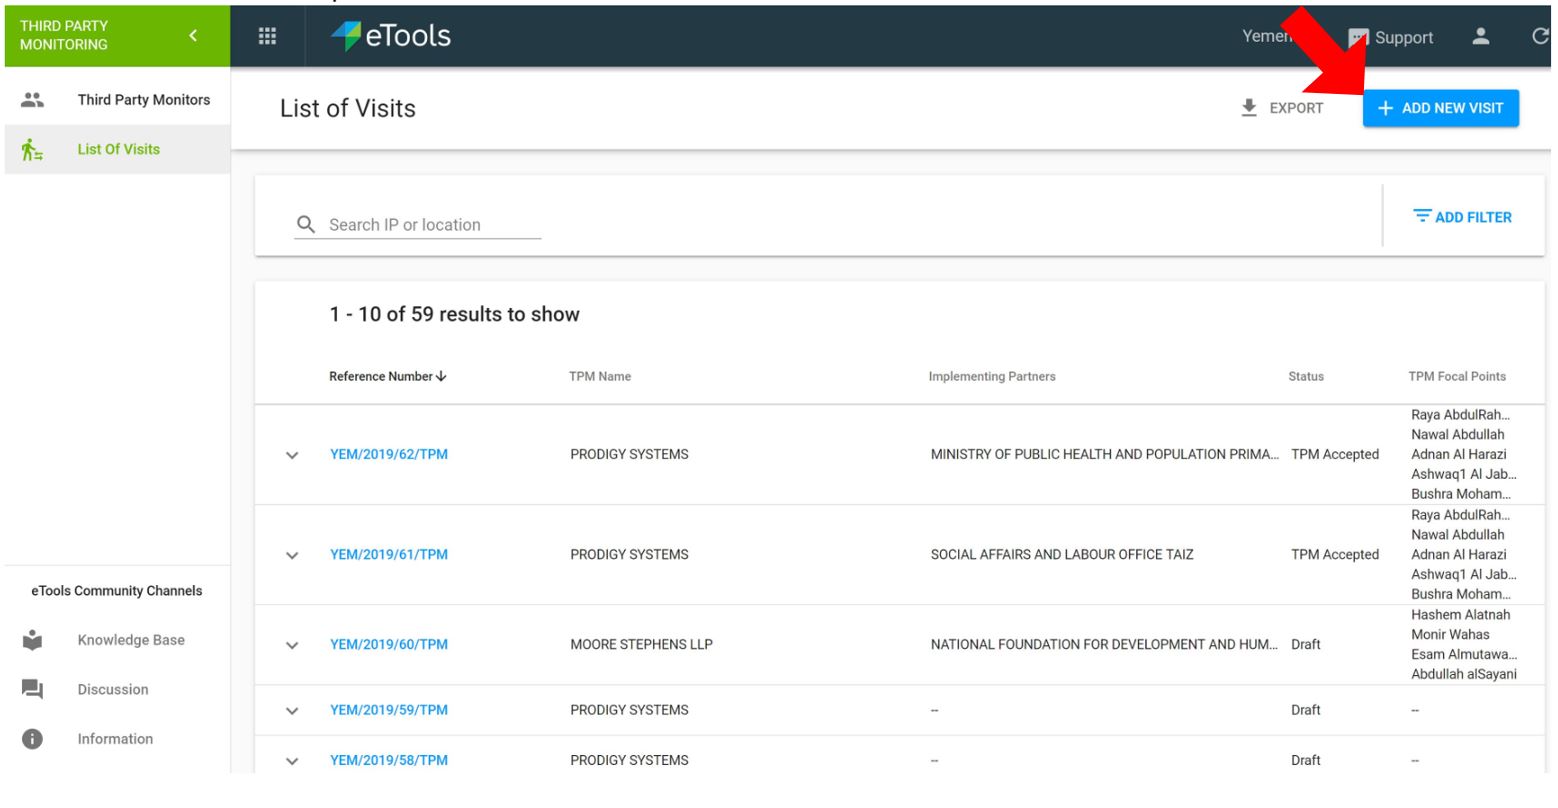
6. Once the List of Visits opens, click on Add New Visit
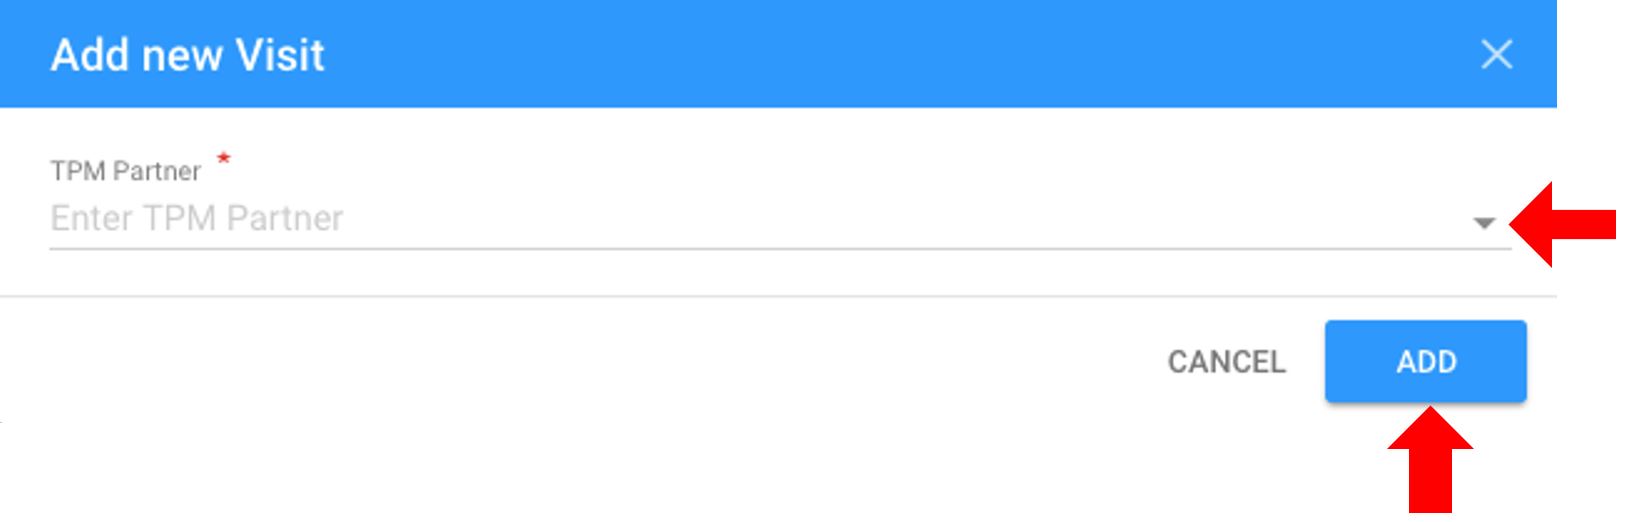
7. Select TPM partner from the drop-down list and click on Add
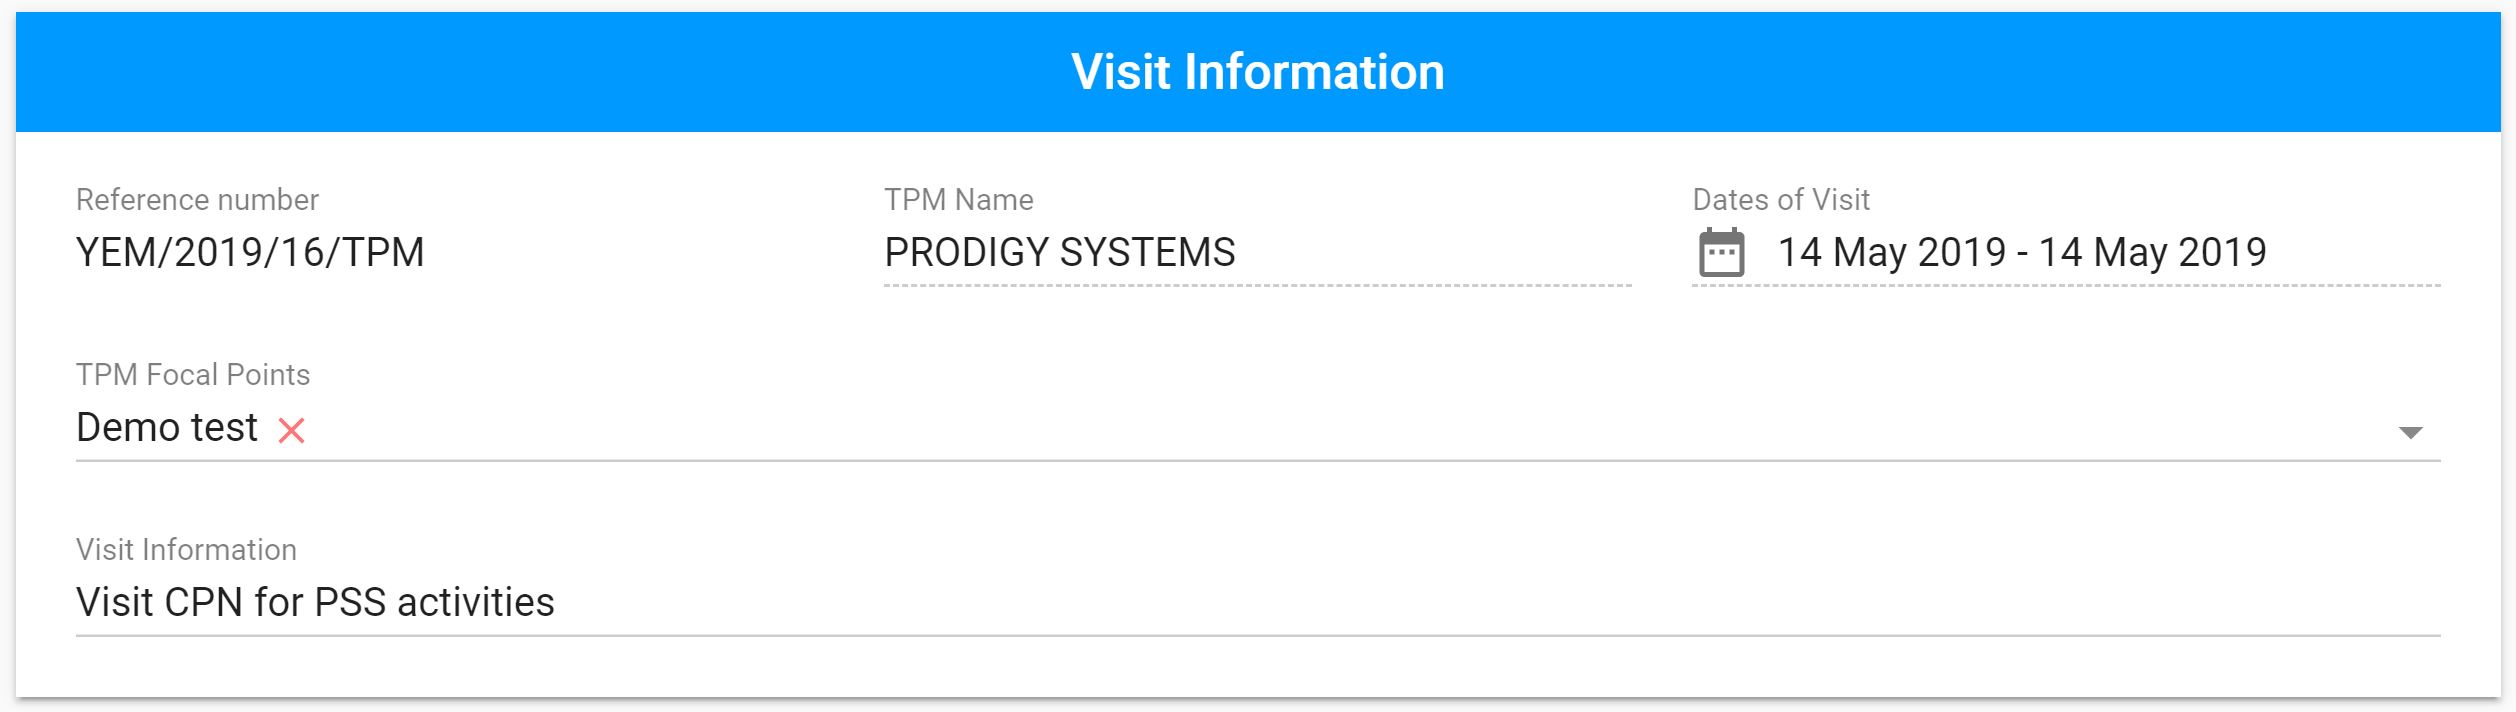
8. Enter information relevant to the visit: UNICEF Focal Points; Office(s) of UNICEF Focal Points; TPM Focal Points; and additional Visit Information
9. Scroll down Site Visit Tasks and click on + sign

10. Enter activity information for the visit (implementing partner; CP output; Section; Date; Locations; Additional information)
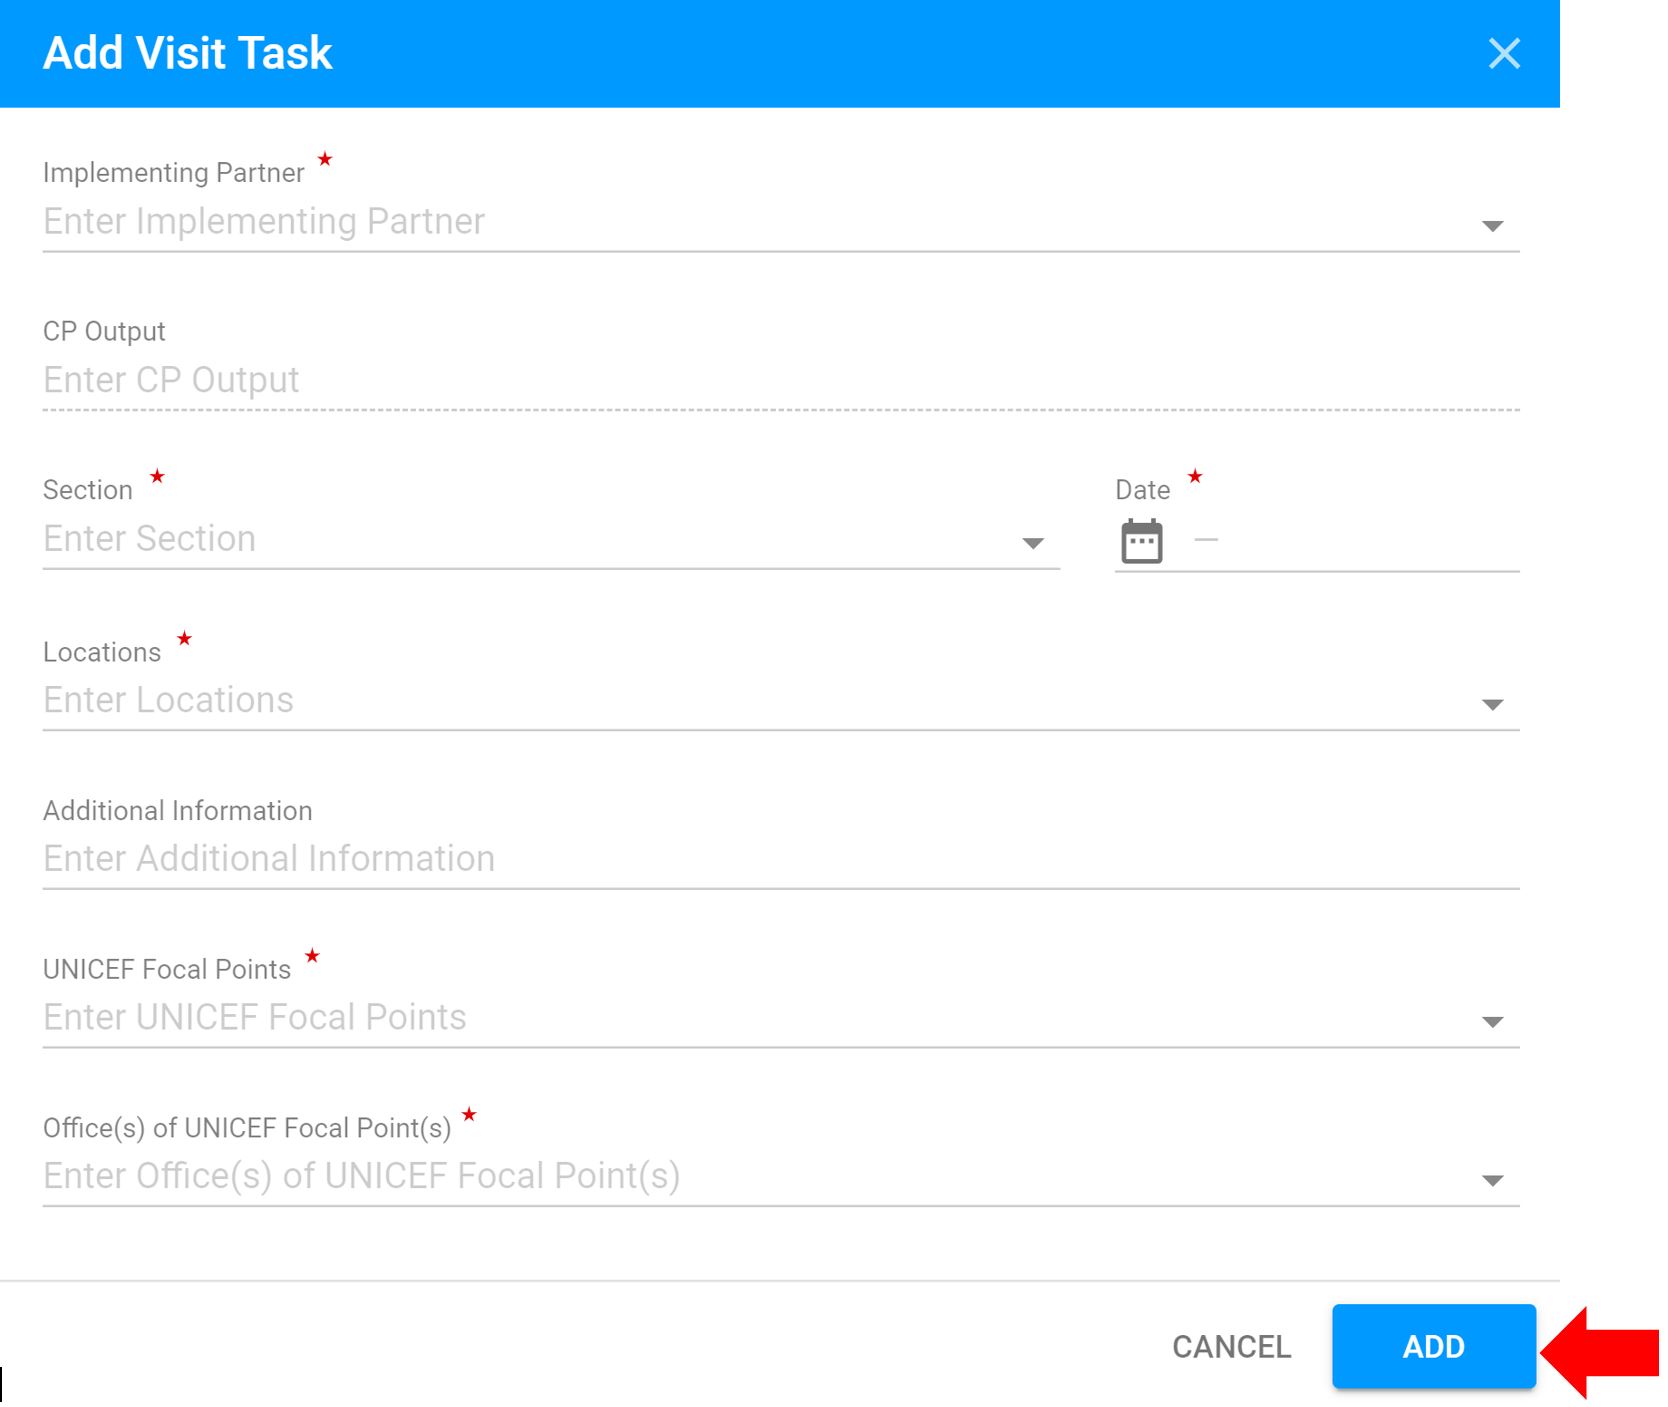
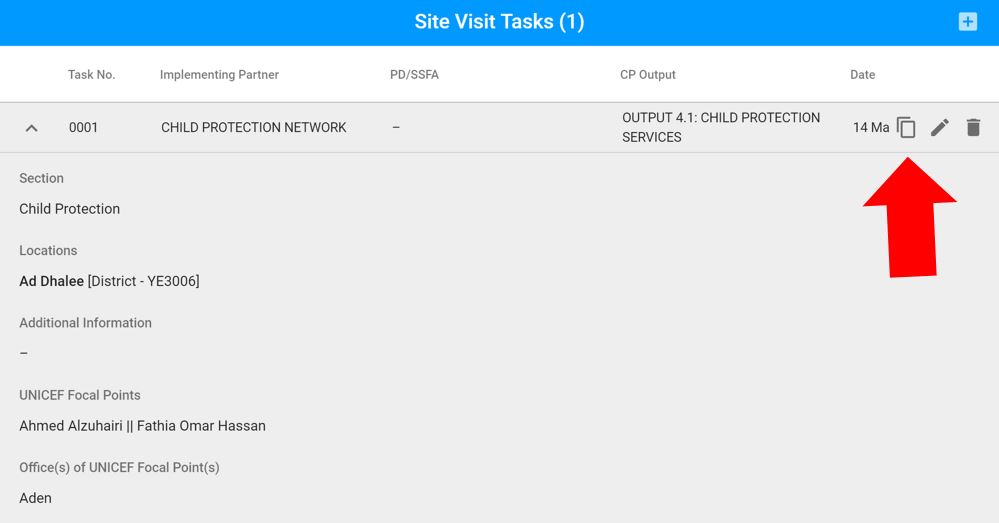
NOTE: You can also add multiple visit activities. These can either be created from scratch or duplicated. If you want to create it from scratch, click on the + sign again, however, if you want to duplicate it click on the appropriate icon (see below). Please note that in order to duplicate it, you need to change at least one field.
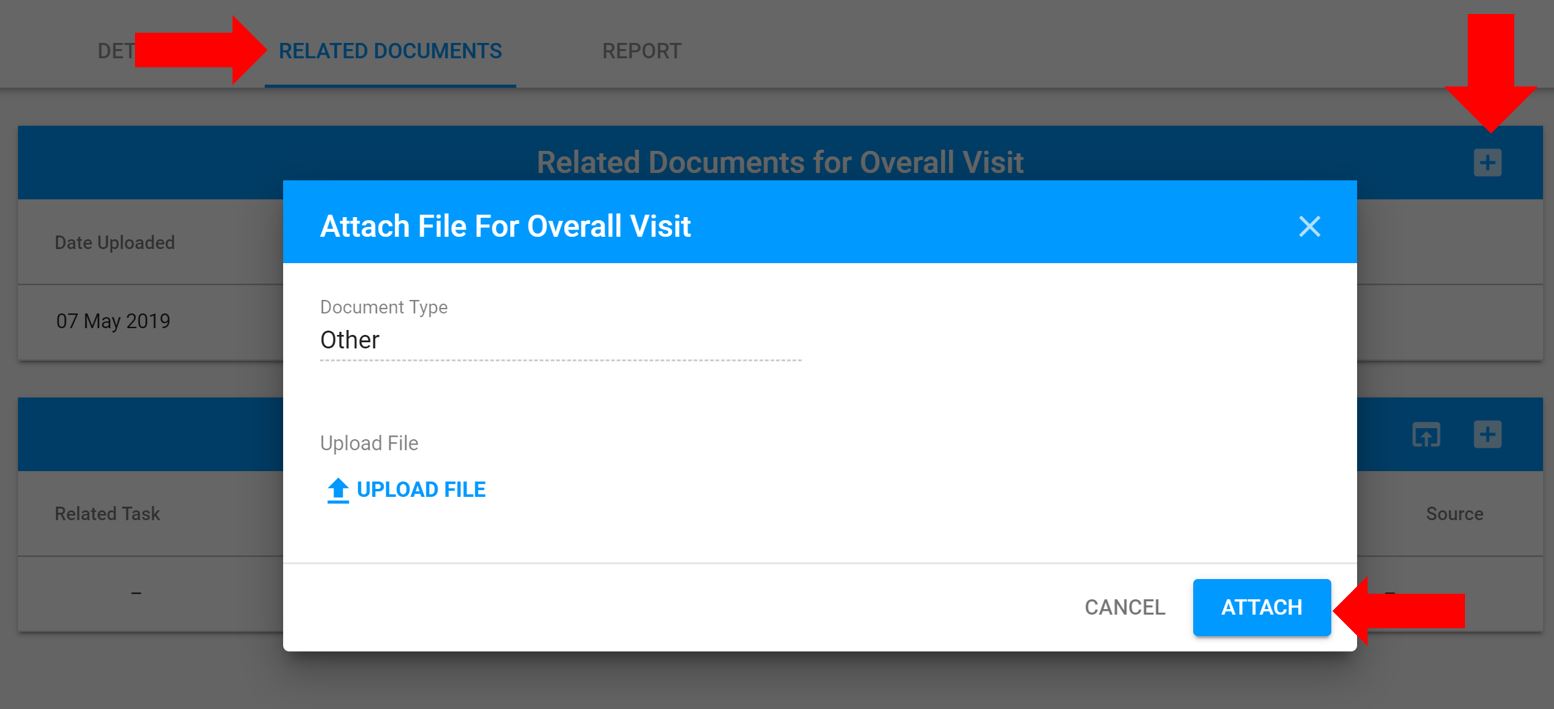
11. You can also attach related documents. Go to Related Documents tab. Click on the + sign to upload related documents for the overall visit. Click on Attach to attach your file to the visit.
13. You can also attach and share related documents to each visit. Select a Visit Activity and Document Type from drop-down list
To share attachments related to the partner and/or programme that are already uploaded on eTools. Click on the upload button. A pop up will appear showing the available documents from the eTools library. You can select multiple files and click on Share to attach to the audit.

14. Attach a file and click on Add
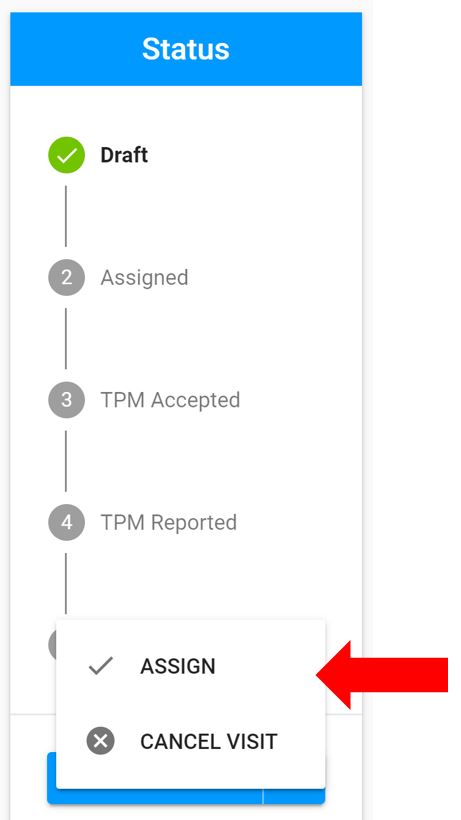
15. Go to Status bar and click on the arrow next to Save button to open drop-down list. Click on Assign. The monitor will receive an e-mail that they have been assigned a visit and to login to the system.