Purpose: The purpose of creating an action point is to track and report on follow-up actions from Third Party Monitoring, Financial Assurance and Trip Management. UNICEF Staff can also create, update and monitor an action point directly from Action Points Dashboard.
Who: UNICEF user
1. Go to etools.unicef.org
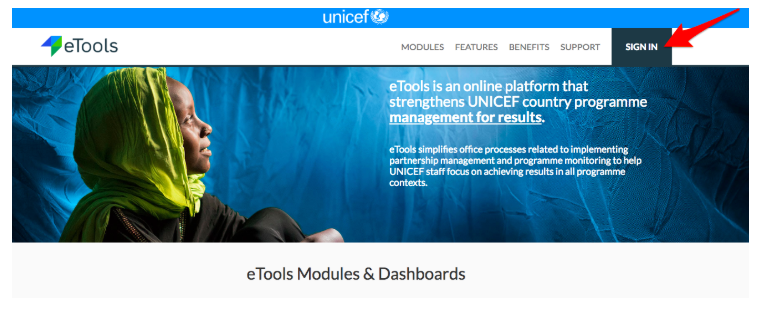


2. Click on Sign in button
3. If you are signing in for the first time, use your UNICEF email and password to log in
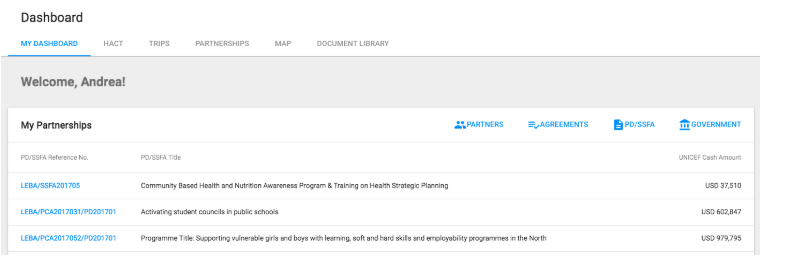
4. Your Personalized Dashboard will open
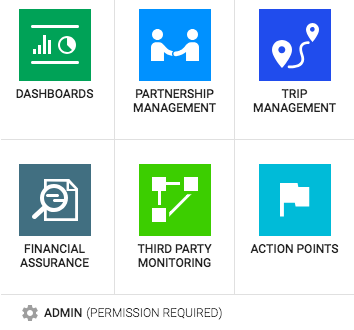
5. Click on App selector and select Action Points
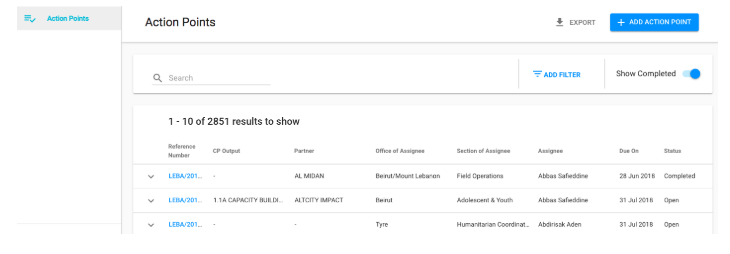
7. Action Points will open
8. Click on Add Action Point
9. Enter relevant information for the action point:
- Partner: Reference to UNICEF’s implementing partners
- PD/SSFA
- CP Output
- Location: related location where action is to be taken
- Description: texts of the action to be taken
- Assigned to: UNICEF user who should take on the action
- Section: section in the office of the assignee
- Office: office of the assignee
- High Priority: check if action is high priority
- Due Date: select due date of the action
10. Click on Create
11. Once the UNICEF user is assigned an action point, the user will receive a notification via email of his assignment. Using a link in the email notification, the UNICEF user will be able to access the action point.
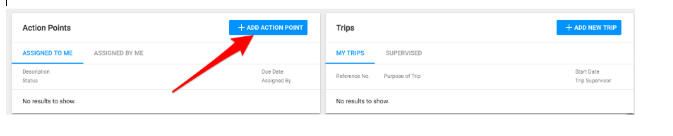
IMPORTANT: You can also create an action point from your Personalized Dashboard. Go to your Personalized Dashboard and click on Add Action Point (see below)