Purpose: Provide an overview of the partner details, engagement type (special audit), and share appropriate forms with the audit team to conduct their visit
Who: UNICEF Focal Point
When: A summary of information required for the auditor to complete their visit
1. Log into eTools using your UNICEF email and password
2. Click on the Menu icon in the top left corner of the screen

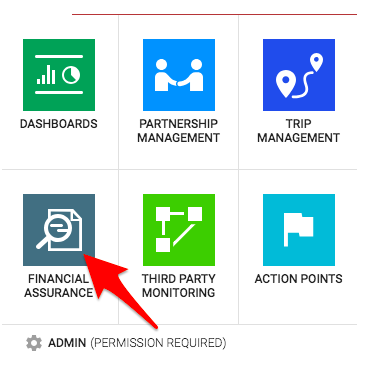
3. Select Financial Assurance Module
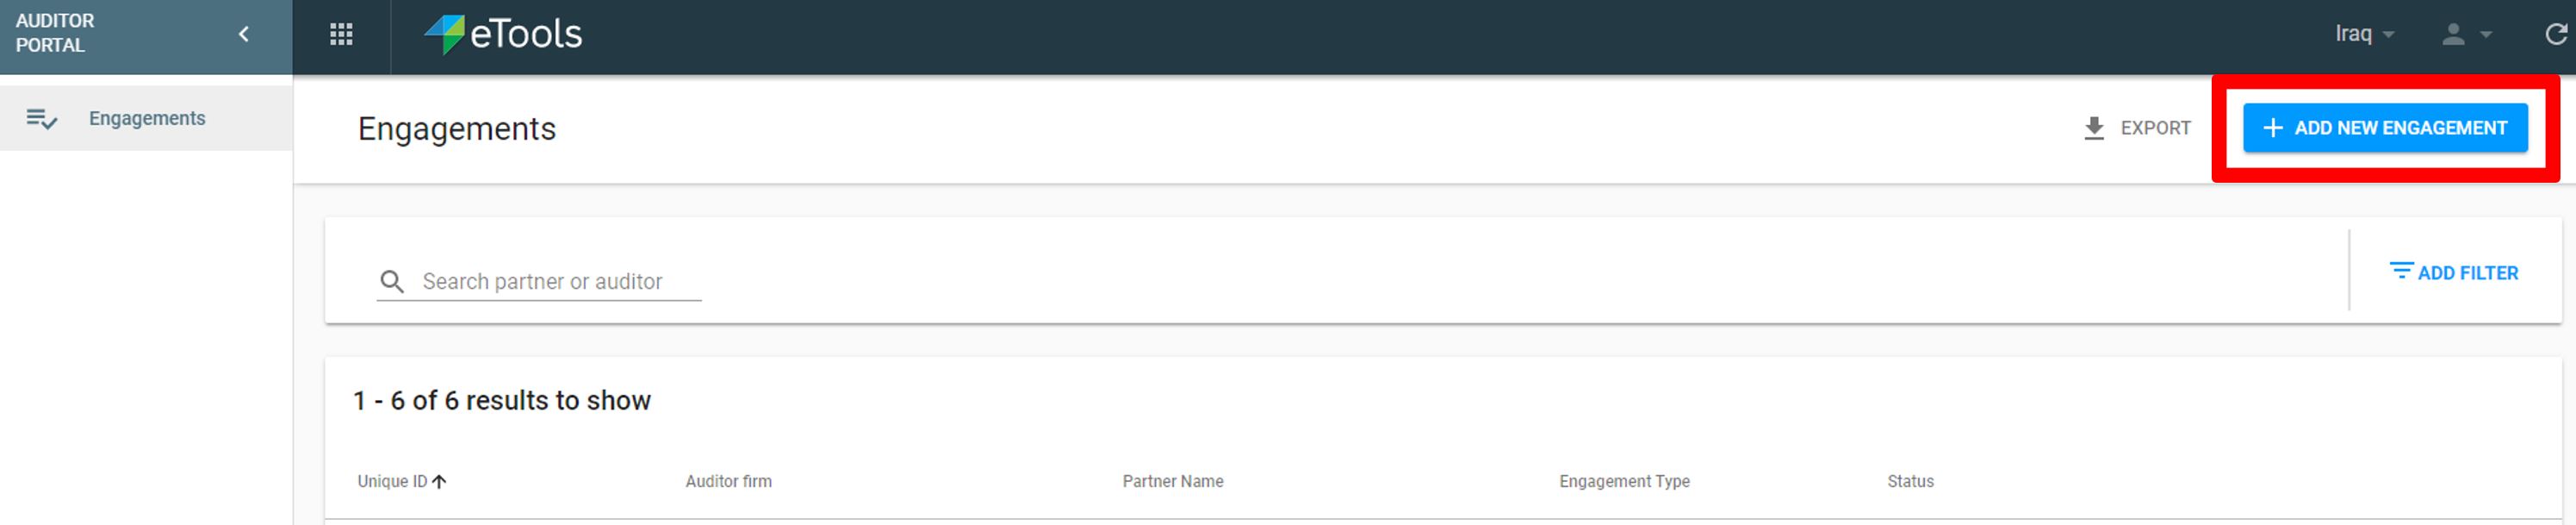
4. List of engagements will open
5. Click on Add New Engagement

6. Enter 00 (double zero) followed by Purchase Order (PO) Number and click enter. Vendor Name, PO Date and Contract Expiry Date will automatically be populated (from VISION) once you enter Purchase Order Number (from VISION)
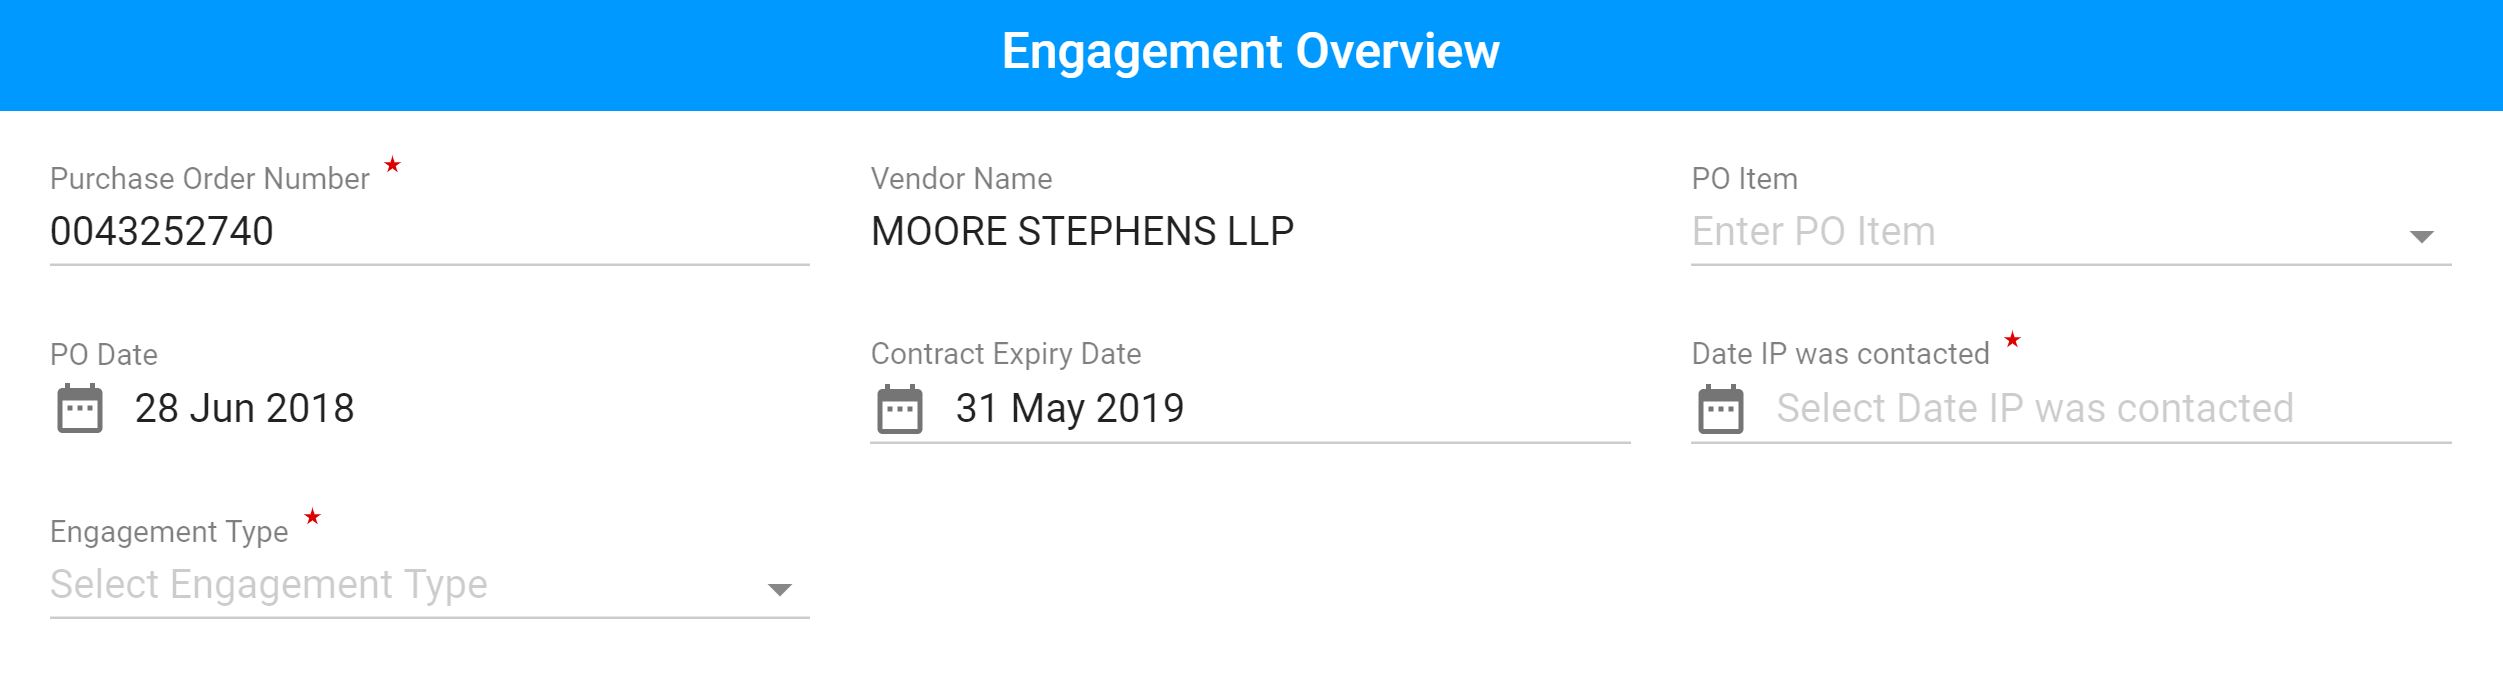

IMPORTANT: Always add 00 before your PO number

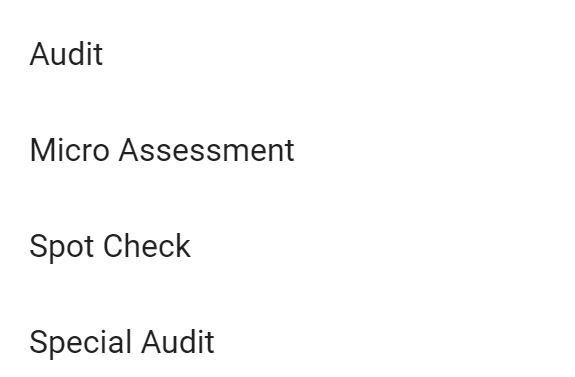
7. Click on Engagement Type drop-down. Select Special Audit from the drop-down list
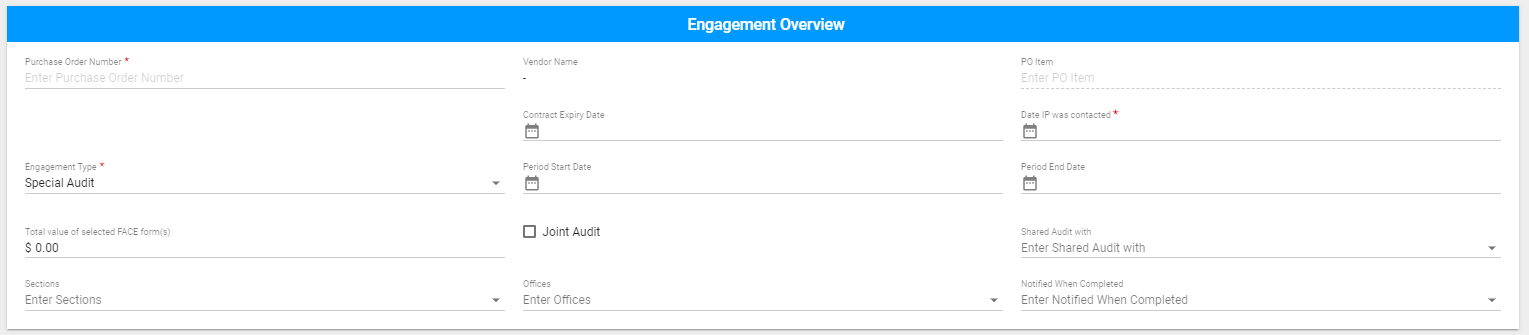
8. Select the required fields (marked by red asterisk): PO Item and Date IP was contacted
9. Scroll down to Partner details and click on Partner drop-down list to select the partner. The

partner details will be automatically populated


10. Select Relevant PD(s) or SSFA(s) from the drop-down list (only applicable to CSO partners)

11. Scroll down to Specific Procedure to be Performed for the special audit and click on the plus sign.

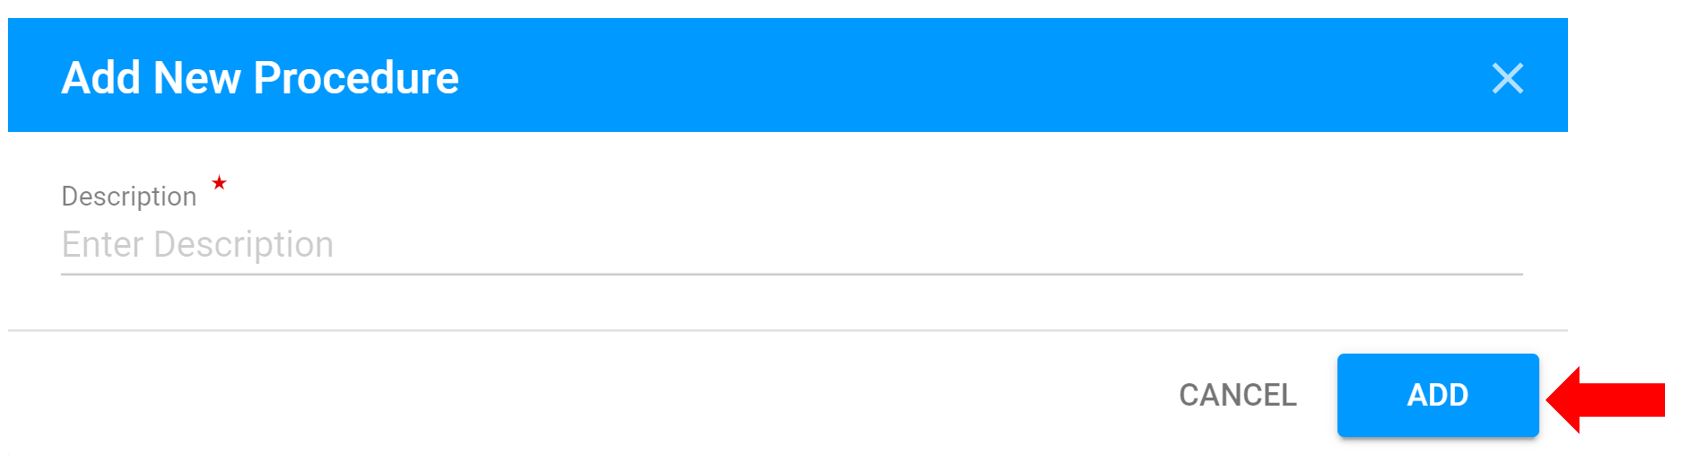
12. A pop up message will appear. Enter the new description of the procedure to be performed and click Add.
13. Scroll down and select at least one Audit Staff Member from the list or click on the + sign at the top right corner to add an audit staff member


14. To add or share attachments with the auditor that are relevant to the audit. Click on the Attachments tab.

15. To share attachments related to the partner and/or programme that are already uploaded on eTools. Click on the upload button. A pop up will appear showing the available documents from the eTools library. You can select multiple files and click on Share to attach to the audit.
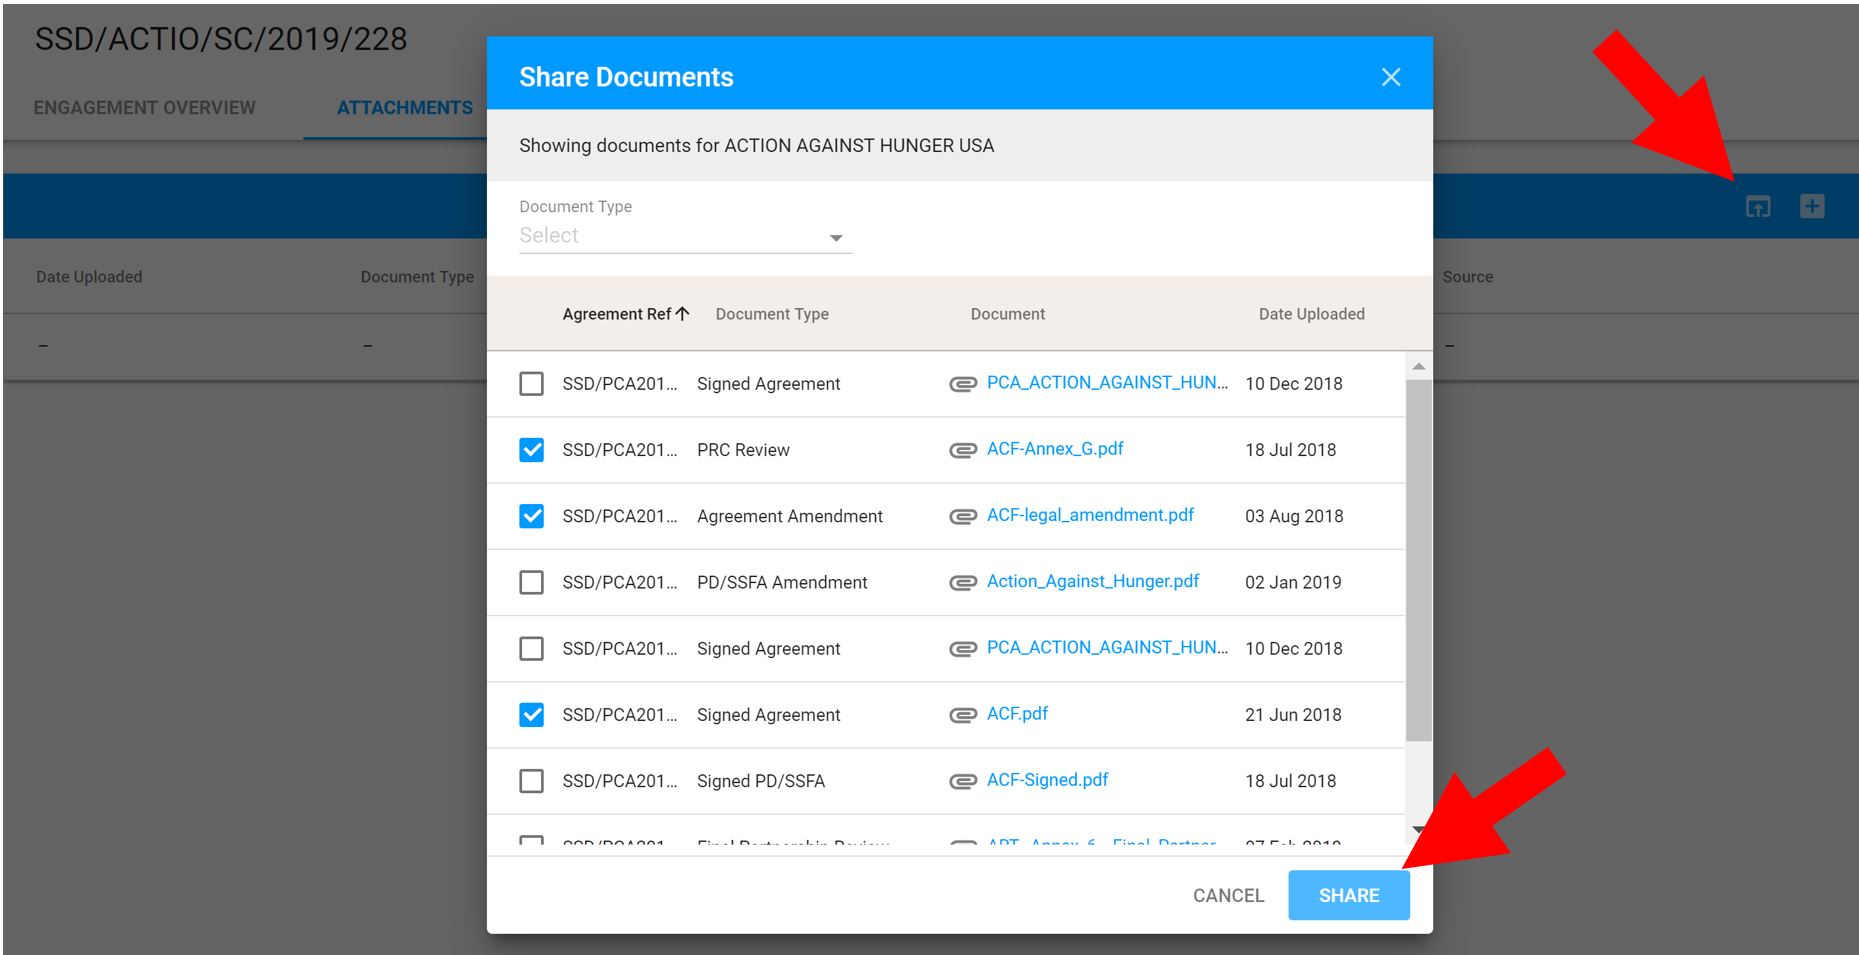
16. To upload attachments click on the upload button and attach the relevant files
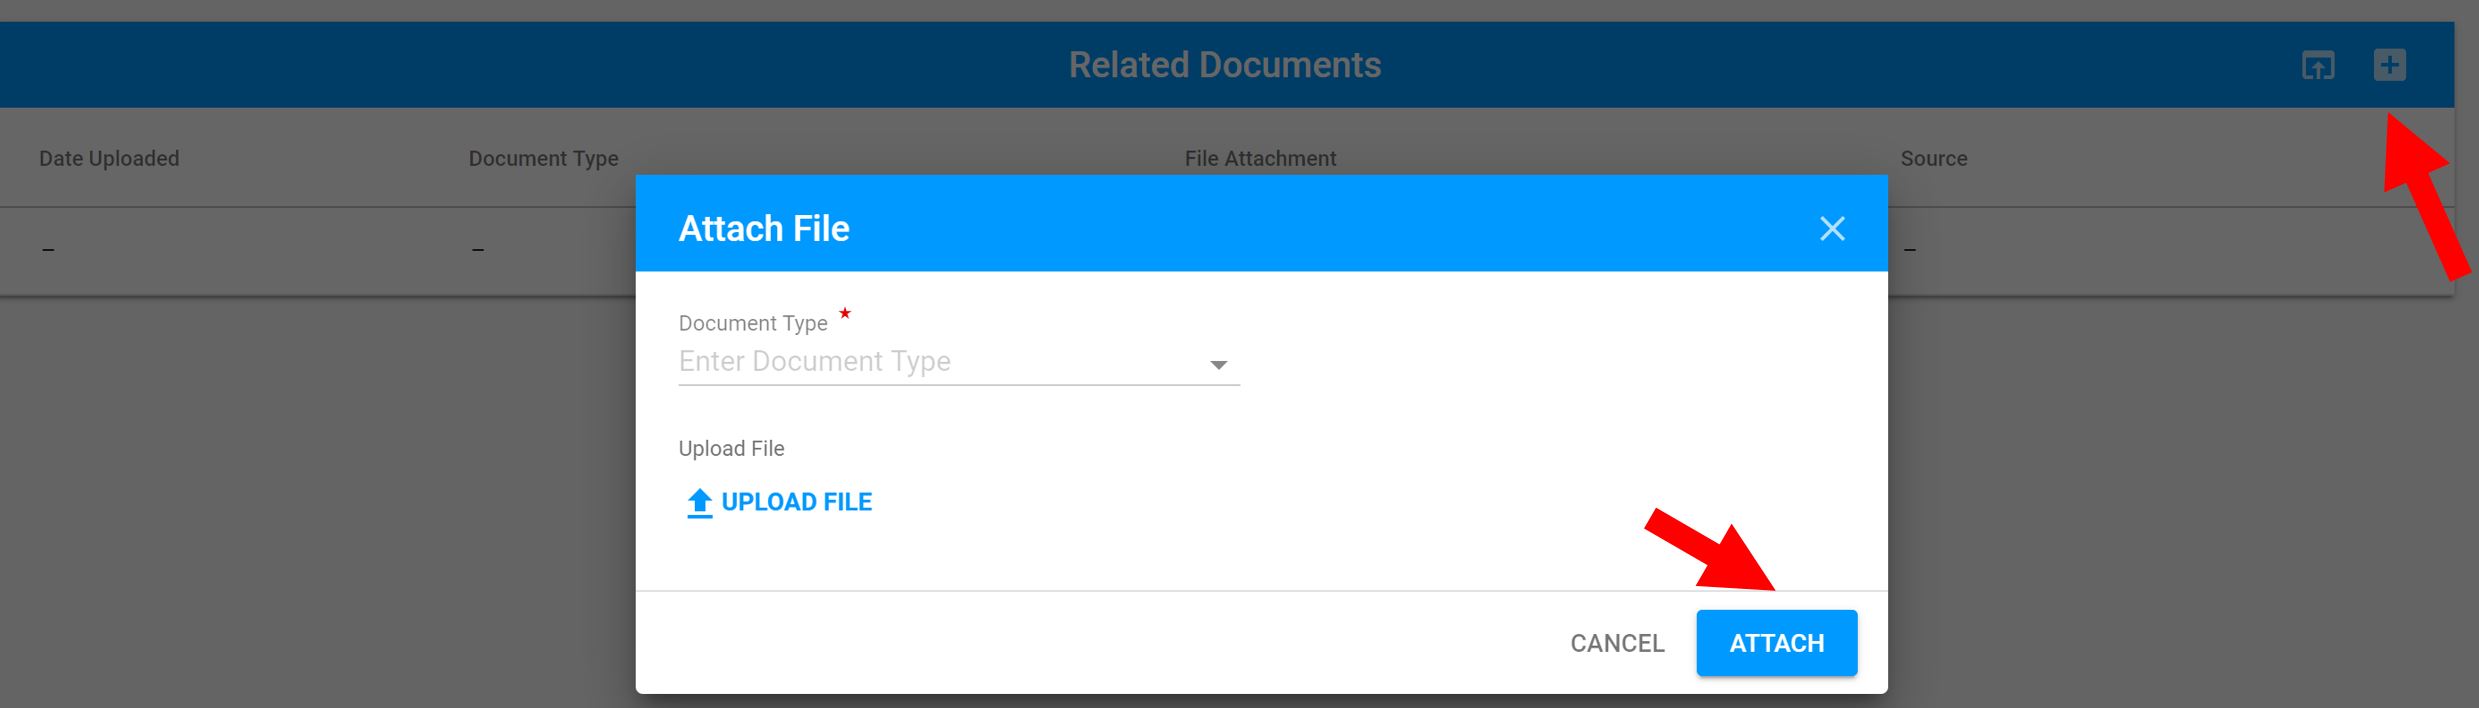
17. Click on the pencil or trash can icons to edit or delete the attachments

18. Click on Create in the Status bar
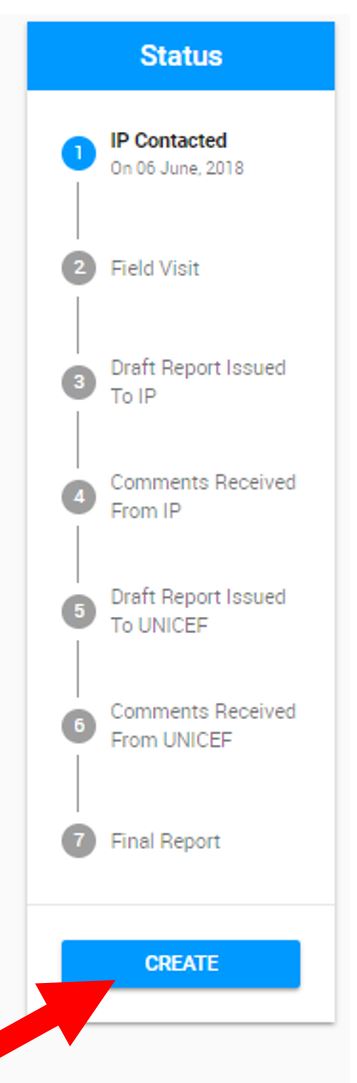

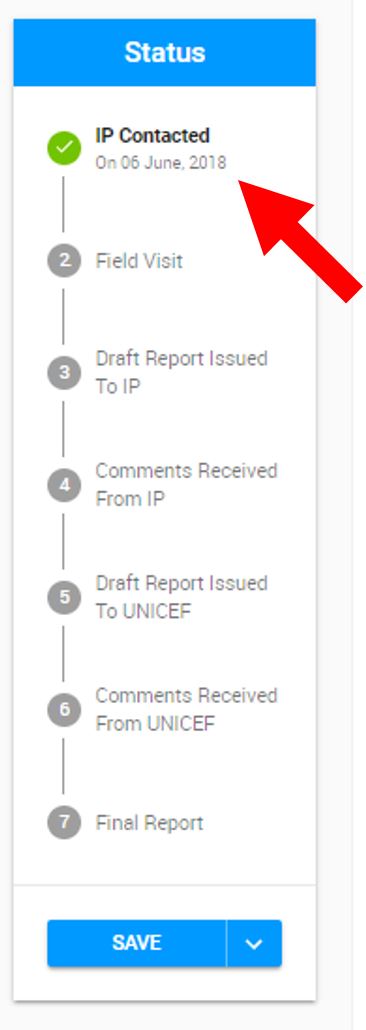
19. The status of your engagement will change to IP Contacted (including the date IP was contacted)